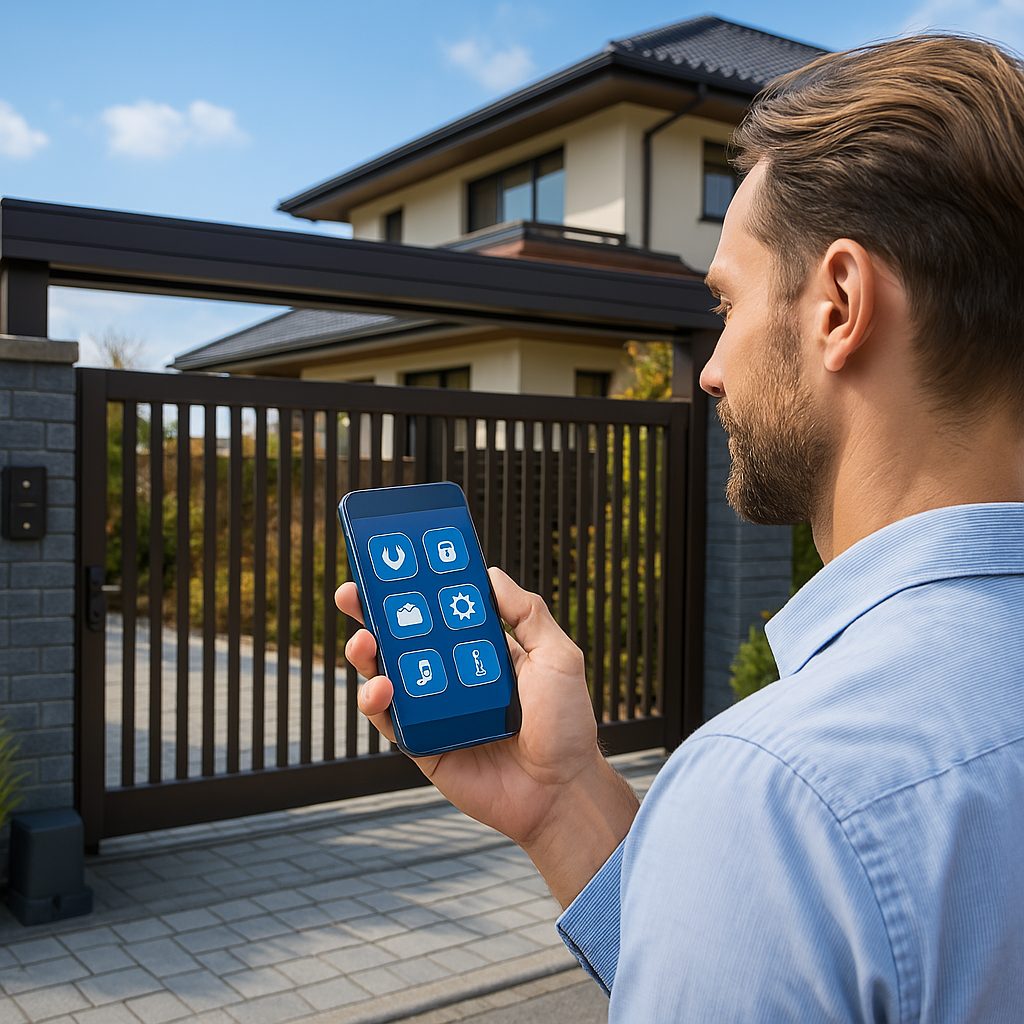
A LiftMaster gate remote is a simple yet powerful tool that makes accessing your property easier and more secure. Whether you’re setting up a new remote or replacing an old one, programming it correctly is crucial for smooth operation. While the process may seem intimidating at first, it’s actually quite manageable when broken down into clear steps.
This guide walks you through the process and offers helpful tips to ensure your LiftMaster remote works as intended.
What You’ll Need Before You Start
Before diving into the programming steps, make sure you have the following:
- Your LiftMaster gate remote
- Access to the gate opener’s control panel
- A ladder (if the control panel is mounted overhead)
- An understanding of your LiftMaster model (this helps with button identification)
If you’re unsure about your LiftMaster model or need professional guidance, consider reaching out to an expert in gate installation services in Columbus for additional support.
Finding the ‘Learn’ Button
The key to programming your LiftMaster remote lies in the “Learn” button on your gate opener’s control panel. Depending on your model, this button may be located on the back or side of the motor unit.
The button color is important, as it can indicate programming methods. Common colors include:
- Yellow
- Purple
- Red/Orange
- Green
Knowing this detail can make programming easier.

How to Program a LiftMaster Gate Remote in 4 Simple Steps
Step 1: Access the Control Panel
Start by locating your LiftMaster gate opener’s control panel and removing the cover. Inside, you’ll find the “Learn” button — this is what activates programming mode.
Step 2: Put the Opener in Learning Mode
- Press and release the “Learn” button.
- The LED indicator should light up or start blinking, signaling the opener is ready to accept a new remote signal.
- Tip: Don’t hold the “Learn” button down too long — this can erase all existing remote codes.
Step 3: Program the Remote Control
- Within 30 seconds of pressing the “Learn” button, press and hold the desired button on your LiftMaster remote.
- Keep holding it until the LED light on the opener either flashes or turns off. This signals that the remote has been successfully programmed.
Step 4: Test the Remote
Before putting your tools away, test the remote from a reasonable distance. If the gate opens as expected, you’re good to go. If not, repeat the steps above.
Troubleshooting Common Issues
If your LiftMaster remote isn’t working after programming, here’s what to check:
- Check the batteries: A weak or dead battery is often the cause of remote issues.
- Confirm compatibility: Not all LiftMaster remotes work with every opener model.
- Look for signal interference: Metal objects or electronic devices can disrupt the signal.
- Check for power issues: If your gate opener isn’t responding at all, there may be a power interruption.
If these steps don’t resolve the issue, professional gate repair services can help troubleshoot deeper problems.
How to Reset or Reprogram Your LiftMaster Remote
If you’ve lost a remote or need to reset the entire system, follow these steps:
- Press and hold the “Learn” button until the LED light turns off. This clears all programmed remotes from the system.
- After resetting, reprogram your remote using the steps above.
Resetting your remote is a simple fix that often resolves lingering issues.
When to Call a Professional
Sometimes, even after troubleshooting, your LiftMaster remote may still refuse to cooperate. If you’re dealing with:
- Wiring issues
- Damaged control panel components
- Multiple remotes failing at once
… it’s a good idea to call a professional. A trained technician can identify and resolve deeper issues quickly and safely. Zimmer Gates offers expert service to get your gate system back on track.
Keeping Your LiftMaster Remote Working Smoothly
A little maintenance goes a long way in keeping your LiftMaster remote performing well.
- Replace the batteries regularly. Weak batteries are often mistaken for larger problems.
- Clean the remote’s buttons. Dirt and debris can make buttons unresponsive.
- Store the remote in a safe place. Keeping it dry and secure helps prevent damage.
These small steps can help you avoid frustrating disruptions. For comprehensive care, consider professional gate maintenance services to keep your entire gate system running efficiently.
Frequently Asked Questions
To reset your LiftMaster remote, press and hold the “Learn” button until the LED light turns off. This clears all previous codes. After that, follow the programming steps to set up your remote again.
If your remote isn’t responding, start by checking the batteries. If that’s not the issue, try reprogramming it or resetting your gate opener.
Yes, you can. Simply follow the programming steps for each remote. Be sure to press the “Learn” button before programming each one.
Final Thoughts
Programming your LiftMaster gate remote may seem technical, but with the right steps, it’s a straightforward process. If you run into trouble or would rather leave it to the pros, Zimmer Gates is here to help.
For reliable gate access solutions, including garage door installation and repair, contact Zimmer Gates today.

